Avatar editor
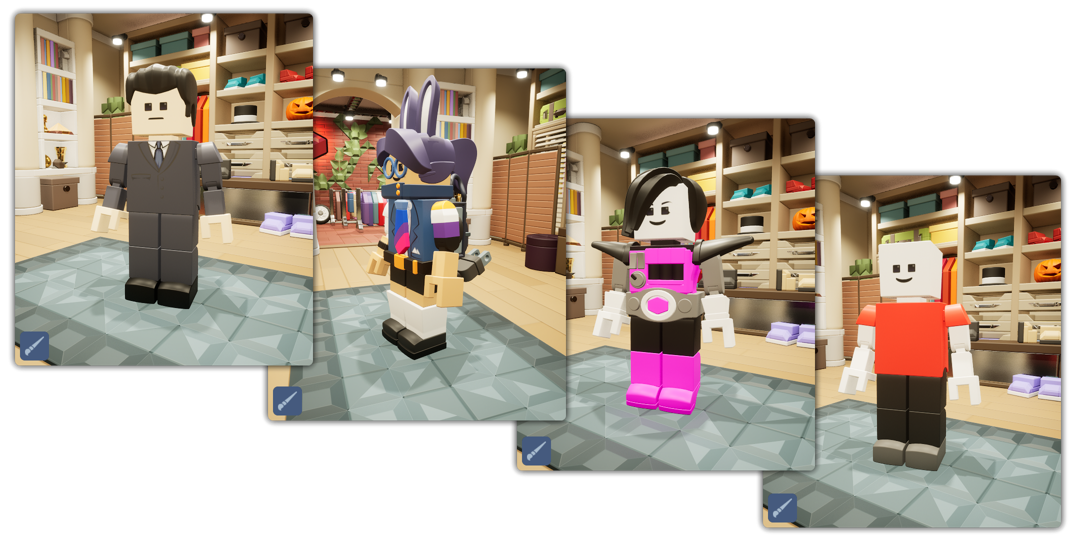
The avatar editor allows you to customize how your character looks with tons of cosmetics and body part. It also allows you to save your existing character as an preset.
To start off, let's show how simple it is to use the avatar editor by making a quick avatar of Sans and saving it to our presets:
{{video("../assets/media/essentials/avatar-editor/creating-an-avatar-from-scratch","Creating an avatar from scratch")}}
This video may be good enough for you already if you are astute, but just in case here is a step by step guide below.
Note
There is a search bar in the avatar editor, but it is not implemented yet.
Finding an avatar part from your avatar
Clicking on an avatar part without doing anything else will highlight its location.
Equipping avatar items
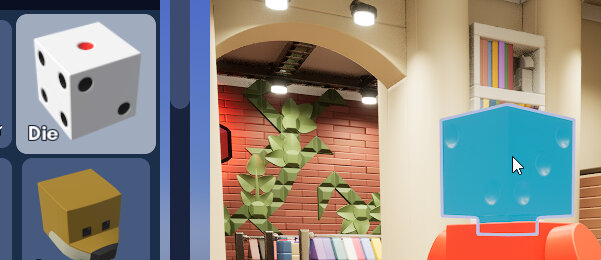
Clicking on any of the body parts, accessories or stickers in the catalog will equip them with their default colors automatically on your avatar.
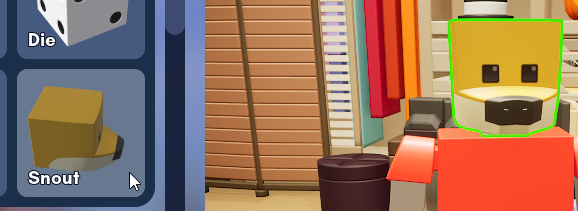
Any body parts that can be attached to the left and right of your avatar will be equipped on both sides symmetrically when you click.
If you already have one side of that part attached, the other side will still attach if you click that part.
You can also drag body parts, accessories or stickers and drop them on your avatar too.
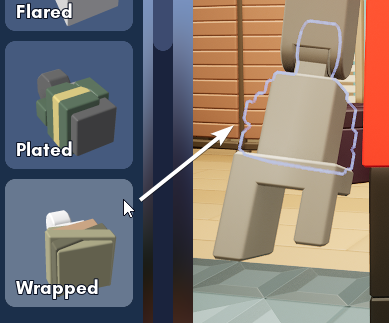
This method allows you to asymmetrically equip a body part on a single side of your avatar.
If the outline on hover is green on one or both sides, that means you have already equipped the body part or accessory.
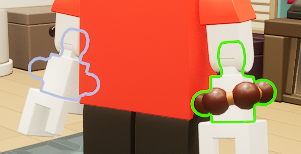
Removing avatar items
Click and drag a part or accessory away from your avatar to remove it.
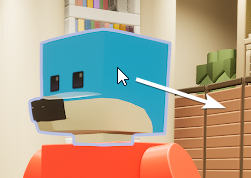
Body parts are not removed but replaced with default equivalents.
Removing avatar stickers
Stickers cannot be removed through click and dragging, but they can be removed by clicking the "Blank" sticker pinned on the top.
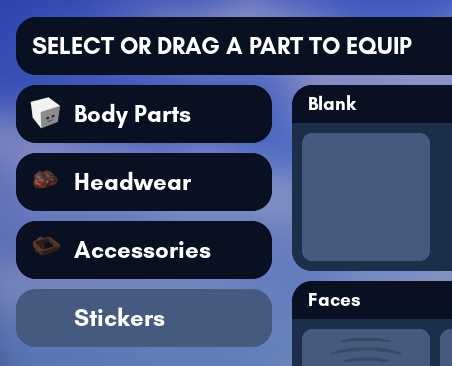
If you have both a face sticker and a torso sticker, the torso sticker will be removed first.
Painting your avatar
Click the brush button . This opens up the color palette and allows you to paint the avatar.
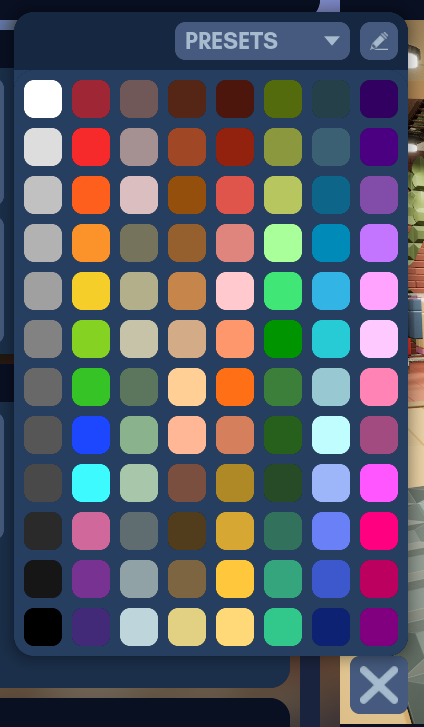
As long as that window is open, you can paint your avatar.
Click on an avatar part to paint it. Click and hold on an avatar part to keep painting continously across other avatar parts.
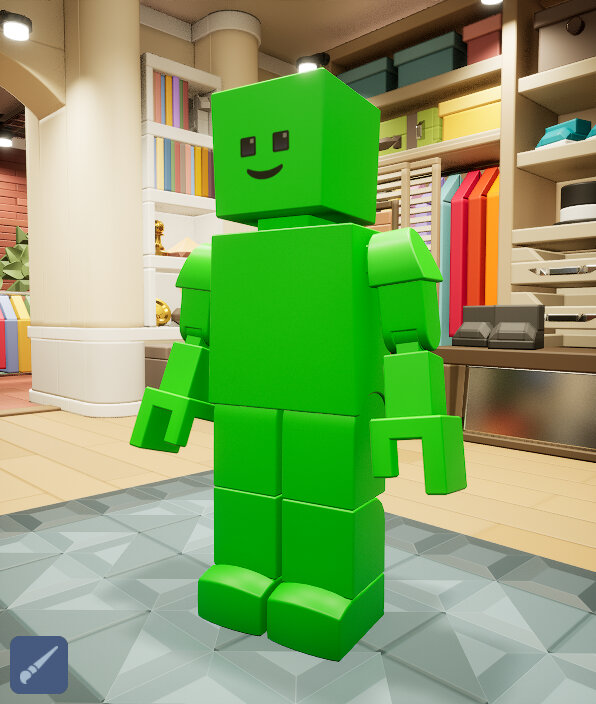
Click the close button to close the palette window.
Tip
Remember to always paint the neck and the leg joints first before adding accessories, as those are some of the most missed and troublesome parts when painting.
Pick avatar color
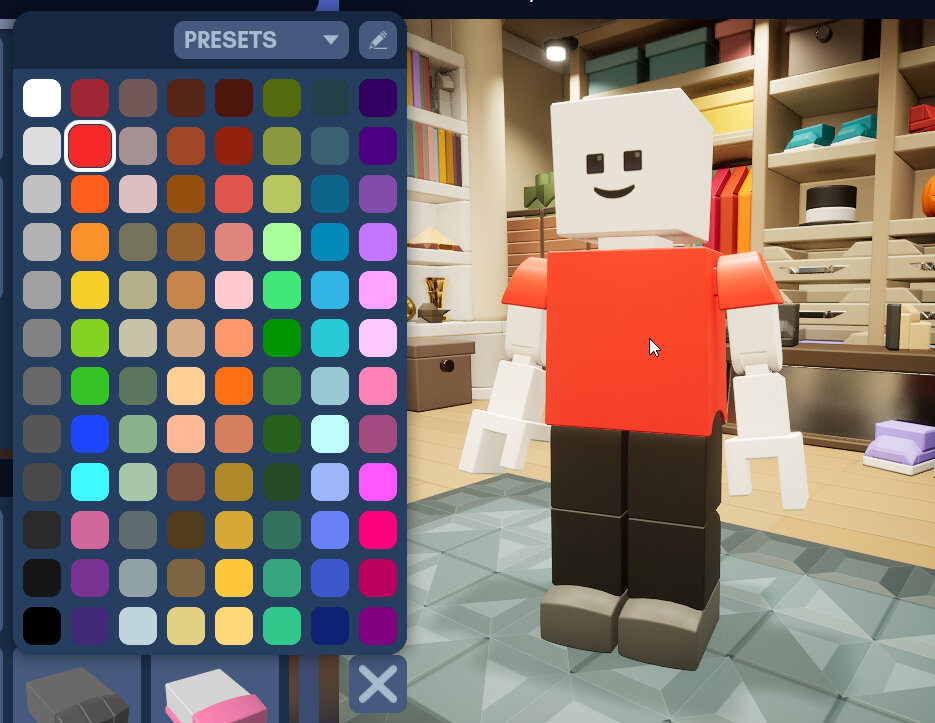
Middle click a part of the avatar part to pick its color. The color in the palette that part has will be highlighted.
Undoing/redoing an avatar change
Avatar changes are saved to history, therefore you can undo or redo them.
- Left Ctrl+Z: Undo painting or equipping/removing avatar parts
- Left Ctrl+Y: Redo painting or equipping/removing avatar parts
Avatar presets
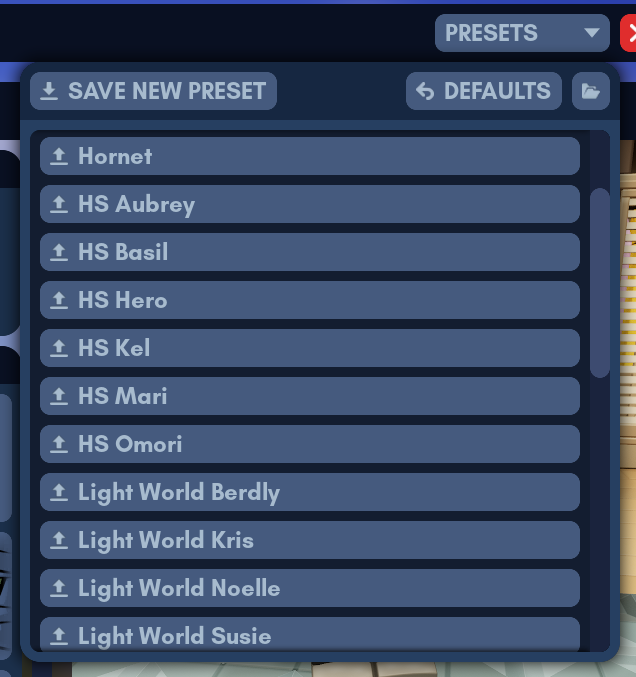
To save a new preset, click on the Save New Preset button.
This will prompt you to type a name for a preset. After typing the name, press Enter to save your current configuration as a preset. Clicking outside the name input box will discard creation of a new preset.
Clicking on a preset in the presets list will load it in its entirety.
The Defaults button resets everything to default settings.
Managing preset files
To manage preset files, hover over their names. The following actions are available:
- The pencil button allows you to rename the preset.
Type the new name for your preset and press Enter to finish renaming the preset. - The yellow overwrite button allows you to overwrite a preset.
To confirm overwriting the preset, click the Confirm Overwrite button. - The trash can button allows you to delete a preset.
To confirm deleting the preset, click the Confirm Deletion button.
Presets folder
The folder button opens the location of the game's presets folder in your operating system's file explorer. You can manage presets using conventional file explorer actions. All presets (palettes, avatars, environment settings and etc.) are in this directory:
Folders not supported
There is currently no interface and indexing for folders. You will not be able to grab presets inside folders.